Mastering Blue Rose Tumbler Wrap Sublimation for Professional Results
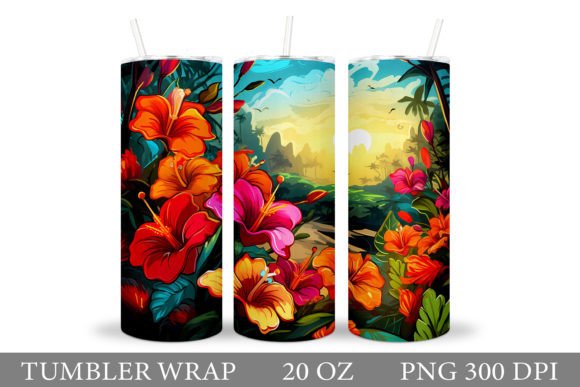
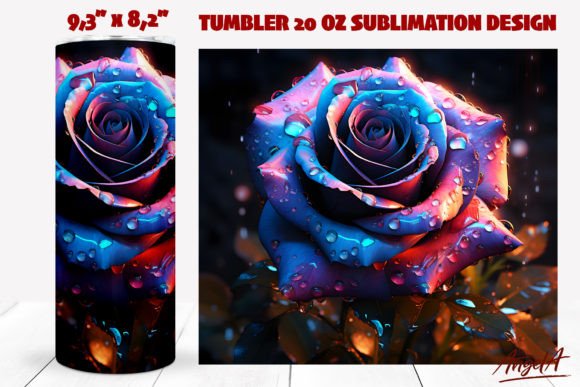
The allure of a perfectly sublimated tumbler lies in the seamless blend of art and utility. When you encounter a Blue Rose Tumbler Wrap Sublimation design, you are looking at more than just a floral pattern; you are seeing a complex interplay of color depth, sparkle effects, and precise dimensional alignment. Specifically, the trending 20 oz skinny dark tumbler wrap featuring a 3D colorful sparkle rose has captured the attention of creators and consumers alike. However, achieving that showroom-quality finish requires more than just hitting "print." Many enthusiasts rush into the process without fully understanding the technical nuances, leading to wasted materials and disappointing outcomes.
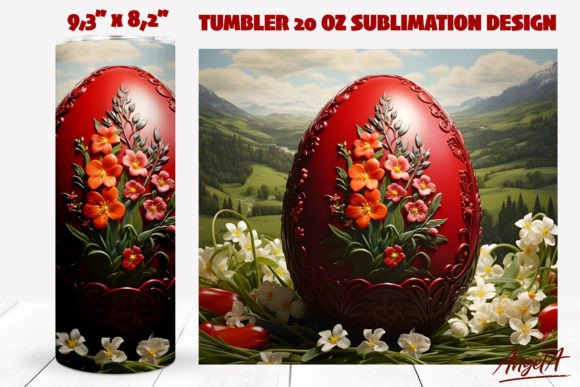
Understanding the specific requirements of this digital asset is crucial. The design in question is typically provided as a high-resolution PNG file at 300 DPI, with dimensions of 9.3 by 8.2 inches. While these specifications might seem standard, overlooking the subtle details of how this file interacts with your physical substrate can make or break your final product. This guide aims to walk you through common pitfalls and provide actionable advice to ensure your sublimation projects meet professional standards.
The Misconception of "Plug-and-Play" Digital Files
One of the most frequent mistakes beginners make is assuming that a downloaded PNG file is ready to print directly onto any tumbler without adjustment. While the Blue Rose Tumbler Wrap Sublimation file is optimized for a 20 oz skinny tumbler, not all "skinny" tumblers are created equal. Manufacturers vary slightly in their diameter and height specifications. If you apply a 9.3-inch wide wrap to a tumbler that is actually 9.5 inches in circumference, you will end up with an unsightly gap or a distorted image where the seam meets.
Why this matters: A misaligned wrap disrupts the visual continuity of the 3D sparkle effect. The rose design, which relies on gradient shading to create depth, will look flat or broken if the dimensions are off. This affects the perceived quality of your product, potentially harming your brand reputation if you are selling these items.
The better approach: Always measure your specific blank tumbler before printing. Use a flexible measuring tape to get the exact circumference and height. If your tumbler differs from the 9.3 x 8.2-inch specification, use graphic design software to scale the image proportionally. It is better to lose a millimeter of background than to stretch the rose petals, which distorts the artistic intent of the 3D effect.
Overlooking the Importance of Color Profiling for Dark Tumblers
The term "dark tumbler" in sublimation often refers to tumblers coated with a special polymer that accepts dye differently than standard white coatings. A common misunderstanding is that you can print the Blue Rose Tumbler Wrap Sublimation design using standard CMYK settings intended for white substrates. Because the design features vibrant, colorful sparkles against a potentially darker or richly saturated background, incorrect color profiling can result in muted tones or a "washed out" appearance.
The impact on quality: The sparkle effect in the rose design relies on high contrast between the bright highlights and the deeper blue hues. If your printer profile is not calibrated for the specific coating of your dark tumbler, the blues may turn purple, and the sparkles may disappear entirely, leaving you with a dull, muddy image. This reduces the visual appeal and fails to deliver the premium look customers expect.
Practical advice: Invest time in creating or downloading ICC profiles specific to your tumbler brand and printer combination. Perform test prints on small sections of the wrap to check color accuracy. Pay close attention to the blue tones and the white highlights of the sparkle. Adjusting brightness and contrast slightly higher than usual can often compensate for the ink absorption characteristics of dark-coated tumblers.
Neglecting the Resolution and Scaling Details
You are provided with a PNG file at 300 DPI. This is the gold standard for print quality. However, a critical error occurs when users resize this image in low-quality editors or save it in a compressed format like JPEG before printing. Compression artifacts can introduce noise into the smooth gradients of the 3D rose, creating banding lines that are highly visible on a curved surface.
Effect on usability and presentation: Banding breaks the illusion of the 3D effect. Instead of a smooth, realistic rose, viewers see distinct lines of color separation. This makes the product look amateurish and cheapens the overall aesthetic. For entrepreneurs and small business owners, this directly impacts customer satisfaction and return rates.
How to avoid this: Keep the original PNG file intact. Use professional software like Adobe Photoshop or Illustrator for any necessary adjustments. Ensure that when you export or save your final print-ready file, you maintain the 300 DPI resolution and use lossless compression. Never upscale the image beyond its original dimensions, as this introduces pixelation that cannot be fixed.
Improper Heat Press Techniques for Curved Surfaces
Even with a perfect print, the application process is where many fail. The Blue Rose Tumbler Wrap Sublimation design covers the entire surface area. Applying heat evenly across a curved, cylindrical object is challenging. A common mistake is using inconsistent pressure or temperature, leading to ghosting or uneven color transfer.
Consequences for efficiency and cost: Ghosting occurs when the paper shifts during the heating process, creating a blurry double image. This ruins the crisp edges of the rose petals and the sparkle details. Since each tumbler blank and print sheet costs money, repeated failures due to poor technique increase your production costs and waste valuable time.
Corrective steps: Use high-quality sublimation tape to secure the wrap tightly around the tumbler. Ensure there are no wrinkles or air bubbles under the paper. Use a convection oven or a specialized tumbler press that provides even heat distribution. If using a heat gun, move constantly and maintain a consistent distance. Always follow the recommended time and temperature settings for your specific tumbler coating, usually around 380°F for 180-200 seconds, but verify with your supplier.
Final Checks Before You Print
Before you commit to printing your Blue Rose Tumbler Wrap Sublimation design, take a moment to review your setup. Check your printer heads for clogs, ensure your ink levels are sufficient, and verify that your paper is loaded correctly. Look at the digital preview of your design to ensure the orientation is correct—remember that the design must be mirrored before printing.
Consider the end-user experience. Will the seam of the wrap align with a handle or a specific part of the tumbler? Can you position the design so the most prominent part of the rose faces forward? These small details elevate your work from a simple craft project to a professional-grade product. By paying attention to these technical and artistic details, you ensure that the vibrant, sparkling beauty of the blue rose is preserved in its final form.
In conclusion, success with sublimation is not just about having a beautiful design; it is about respecting the technical requirements of the medium. By avoiding common mistakes in sizing, color profiling, file handling, and heat application, you can consistently produce high-quality tumblers that stand out in the market. Whether you are a hobbyist looking to create gifts or an entrepreneur building a brand, mastering these fundamentals is the key to long-term satisfaction and success.