Mastering the Art of Smoke Texture in Digital Design
In the vast landscape of digital assets, few elements evoke as much mystery and atmosphere as a smoke texture. Whether you are designing a moody album cover, creating an ethereal website background, or adding depth to a 3D model, smoke offers a versatile visual language that bridges the gap between abstract art and realistic photography. However, integrating these elements into your workflow is not as simple as dragging and dropping a file. Many creators overlook critical technical details, leading to flattened designs, poor print quality, or wasted time on assets that simply do not fit their project’s needs.
Understanding the nuances of smoke backgrounds can significantly elevate your creative output. This guide explores common pitfalls designers face when selecting and applying smoke textures, offering practical advice to ensure your final product looks professional, polished, and purposeful.
The Misconception of "One Size Fits All" Resolution
One of the most frequent mistakes beginners make is assuming that any image labeled "high resolution" is suitable for all mediums. You might download a smoke background that looks crisp on your monitor, only to find it pixelated and blurry when printed on a greeting card or wrapping paper. This happens because screen resolution and print resolution are fundamentally different.
For digital use, such as blog backgrounds or social media content, standard web resolutions often suffice. However, for physical products like invitations, stickers, or home decorations, you need a much higher density of pixels. A professional-grade asset should offer at least 300 DPI (dots per inch). If you are working with a file that is only 72 DPI, it will look acceptable on a smartphone but disastrous in print. Always check the specifications before downloading. For instance, a file sized at 3000×2000 px at 300 DPI provides enough detail for high-quality printing without requiring excessive storage space or processing power.
Pro Tip: Before committing to a purchase or download, verify the RGB color mode if you are working primarily for digital screens, but ensure the source file can be converted to CMYK if you plan to print physically. While RGB offers a wider gamut of colors for screens, print projects require careful color management to avoid dull or shifted hues.
Overlooking Blending Modes and Masking Techniques
Another common error is treating a smoke texture as a static image rather than a dynamic layer. Many novices place a smoke JPG directly over their design and leave it at 100% opacity. The result is often a muddy, opaque block that obscures the underlying text or subject rather than enhancing it.
To achieve that elusive, wispy effect, you must utilize blending modes. In software like Photoshop or Affinity Photo, modes such as Screen, Overlay, or Soft Light allow the black or dark areas of the smoke to become transparent, letting the lighter, smoky parts interact naturally with your background. Additionally, using clipping masks on text shapes can create stunning typography effects where the smoke appears to be contained within the letters themselves. This technique is particularly effective for fashion projects, movie posters, and premium packaging designs.
If you skip this step, your design loses depth. The smoke should feel like it is interacting with the environment, not just sitting on top of it. Take the time to adjust opacity levels and experiment with different blending options to find the right balance between visibility and subtlety.
Ignoring Context and Composition
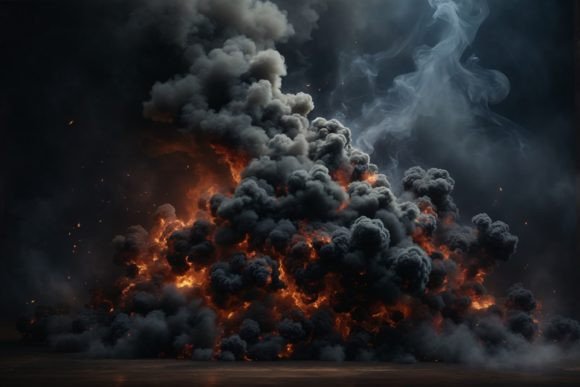
Smoke is powerful, but it is also dominant. A frequent oversight is using a heavy, dense smoke background for a project that requires clarity and readability, such as a corporate invitation or an educational blog post. When the texture competes with the content, the message gets lost.
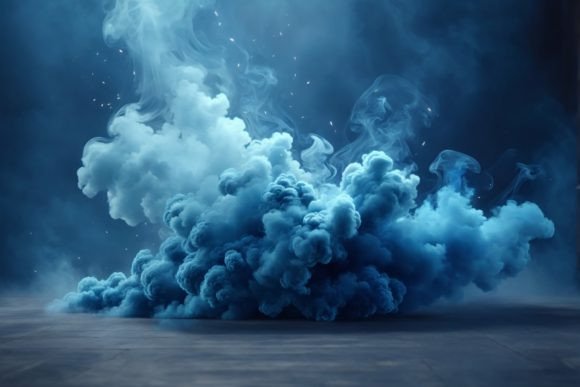
Consider the purpose of your project. For a mockup backdrop, you want the smoke to frame the product, drawing the eye toward the center. For digital scrapbooking, you might want a lighter, wispier texture that adds atmosphere without overwhelming photos or journaling cards. If you are creating printable wallpapers or home decorations, ensure the pattern repeats seamlessly or that the composition flows naturally across the surface.
A better approach is to analyze the negative space in your smoke texture. Look for images where the smoke drifts to one side, leaving open areas for text or logos. This intentional composition saves you hours of editing time and ensures your design remains functional. Always ask yourself: Does this texture support my main subject, or is it distracting from it?
Neglecting File Format and Editability
While JPG files are universal and easy to use, they come with limitations. A common mistake is relying solely on compressed JPGs for complex editing tasks. JPGs do not support transparency, meaning you will always have a solid background color (usually black or white) that you must blend out manually. This can lead to halos or awkward edges around the smoke plumes.
For maximum flexibility, especially in graphic design and content creation, consider whether you need a PNG with a transparent background or even a PSD file with separate layers. However, if you are working with high-resolution JPGs, such as the 3000×2000 px standard, ensure you are using non-destructive editing techniques. Use adjustment layers and masks so you can tweak the intensity and position of the smoke without permanently altering the original file.
This is crucial for 3D models and texture mapping. If you are applying smoke as a texture map in a 3D environment, the resolution and aspect ratio must match your model’s UV layout. Using a low-res or improperly cropped image can result in stretching or pixelation on the rendered object, breaking the immersion of your scene.
Choosing the Right Asset for Your Workflow
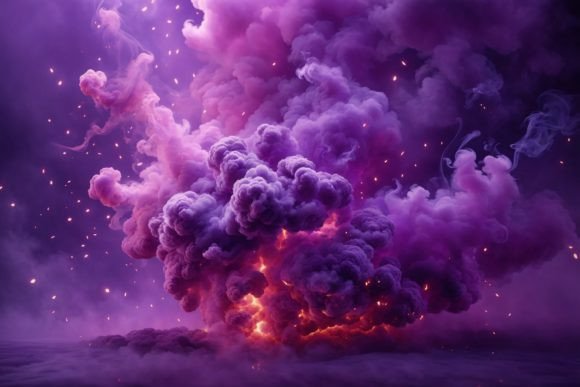
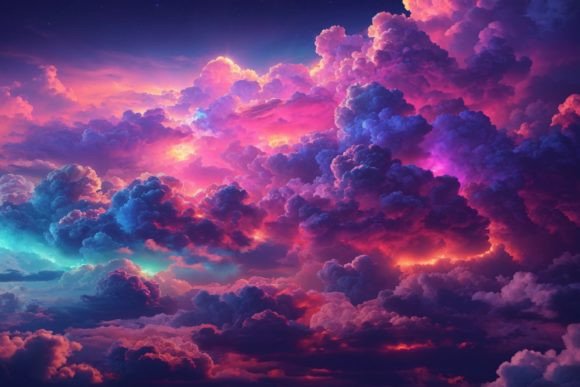
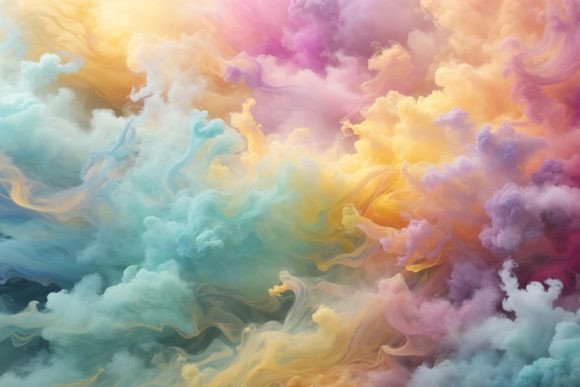
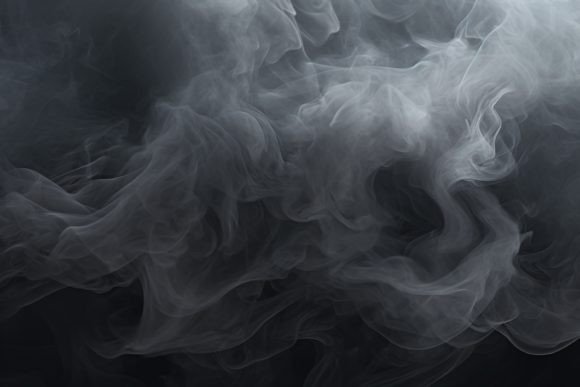
Finally, many creators waste time searching for the perfect smoke texture because they do not define their needs upfront. Are you looking for thick, billowing clouds for a dramatic backdrop? Or delicate, thin wisps for a subtle paper craft overlay? The variety of smoke styles is immense, ranging from colorful vapor to realistic gray fog.
To streamline your process, build a curated library of trusted assets. Look for packs that offer consistency in lighting and perspective. If you are designing a series of stickers or greeting cards, using smoke textures from the same source ensures a cohesive brand identity. Check the license agreements carefully, especially if you are using these assets for commercial purposes like packaging or website headers. Ensuring you have the right to use the file for client work prevents legal issues down the line.
By paying attention to resolution, blending techniques, composition, and file formats, you transform a simple smoke image into a powerful design tool. Whether you are a freelancer creating mockups, a hobbyist engaged in digital scrapbooking, or a marketer designing ad campaigns, mastering these details ensures your work stands out for its professionalism and creativity. Remember, the goal is not just to add smoke, but to add atmosphere, depth, and emotion to your visual storytelling.